Circle Cutters for Button Making
Three ways to cut circles for your button press: scissors, a punch cutter, or a digital cutting machine like Cricut.
Why Cutting Matters
Before your design goes into a button press, it needs to be cut into a circle. The cut size is always larger than the finished button because the extra paper wraps around the shell edge during pressing. That extra area is the bleed, and without it, you get bare metal showing around the rim.
You have options for how to cut. You can go free with scissors, fast with a punch cutter, or precise with a digital cutting machine. The right choice depends on how many buttons you make and what tools you already own.
As an Amazon Associate, ButtonMaker earns from qualifying purchases. This does not affect our recommendations or what you pay.
Scissors
The simplest option you already own
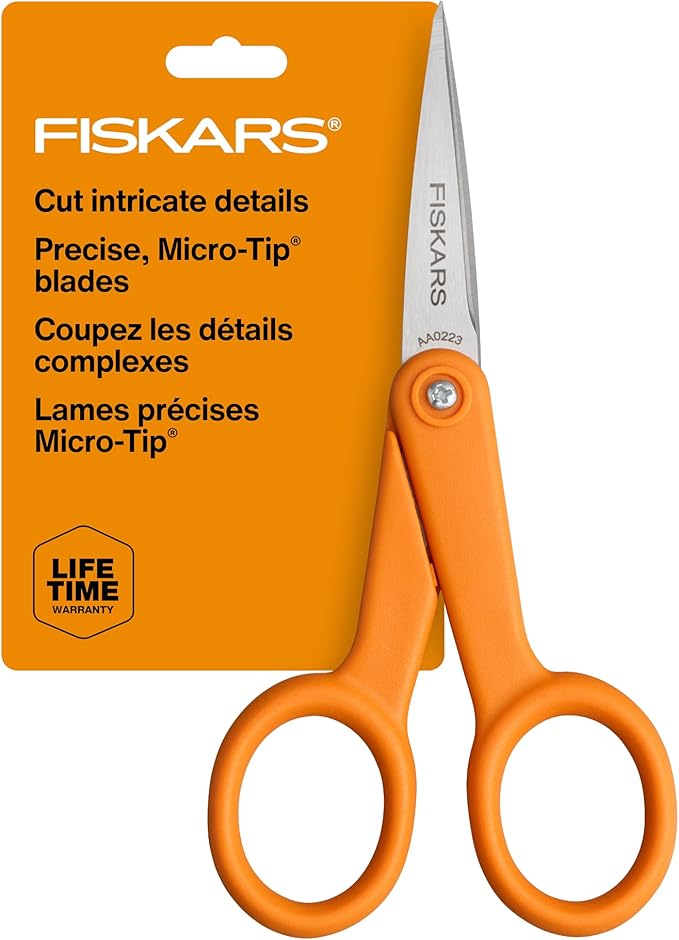
Fiskars Micro-Tip Scissors
Every ButtonMaker PDF prints with cut guides around each circle. Grab a pair of scissors and cut along the guide. That is the whole process.
Manual cutting works well for small batches. If you are making 10 or 20 buttons for a party or a school event, there is no reason to buy a dedicated cutter. Most button presses are forgiving. As long as you are reasonably close to the line, the paper will wrap and crimp cleanly.
Micro-tip scissors like these Fiskars are better than regular scissors for button circles because the small blade tip lets you follow curves more precisely. If you already have a pair, you are ready to start.
Adjustable Circle Cutter
One tool, any button size
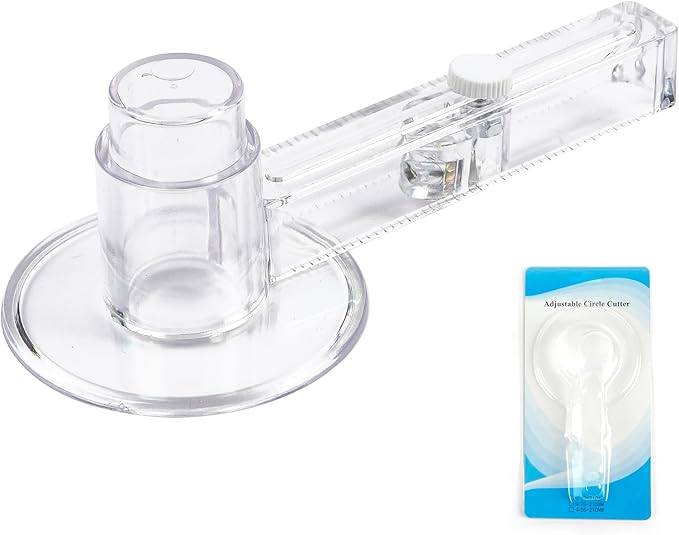
Happizza Adjustable Circular Paper Cutter
This is the style of cutter that comes bundled with most Happizza button press kits. It is a compass-style tool with an adjustable arm and a razor blade at the end. Set the radius, press the center pin into your paper, and spin it around to cut a clean circle.
The big advantage is flexibility. You can adjust the arm to cut any size circle, so one tool handles every button size you make. It works with the cut guides printed on your ButtonMaker PDFs. Set the radius to match the guide, center it on your design, and spin.
If yours broke or you lost it, this is a cheap replacement. If you bought a press without one, it is the most affordable way to start cutting circles without scissors.
Punch Cutter
Fast, consistent circles with one press
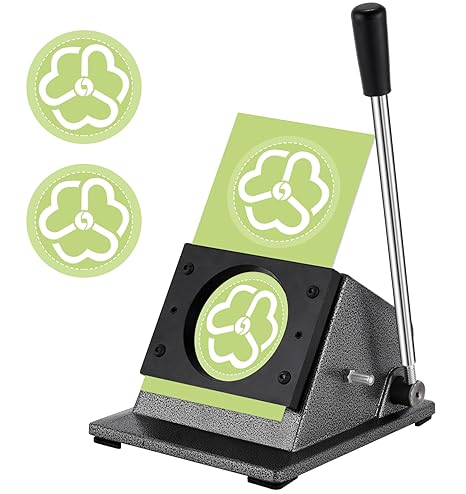
Saladulce 2.28" Button Paper Punch Cutter
This is a press-style punch cutter designed specifically for button making. You position your printed sheet, press down, and a clean circle pops out. No spinning a blade, no adjusting a dial. It cuts 2.75" circles, which includes the bleed allowance for standard 2.25" buttons.
Punch cutters are faster than rotary cutters for production work. There is no measurement step and no chance of the blade slipping. You just line up and press. If you make 2.25" buttons regularly, this is the kind of cutter that saves real time over a session of cutting 50 or 100 circles.
The tradeoff is flexibility. This cutter does one size. If you make multiple button sizes, you would need a separate cutter for each, or use a Cricut instead.
Digital Cutter: Cricut
Perfect circles, fully automated
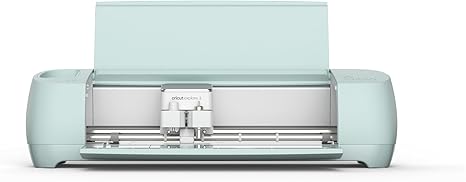
Cricut Explore 3
If you already own a Cricut, you might not need a circle cutter at all. The Cricut Explore 3 can cut perfect circles at any size your button press requires, and it handles an entire sheet of designs in one pass.
Print your ButtonMaker PDF, then use the Cricut to cut the circles using the printed cut guides as reference. The machine cuts every circle precisely, so you get consistent results across the entire sheet.
The Cricut also handles cardstock, vinyl, and dozens of other materials, so it earns its keep beyond just button making. If you are already into crafting, this is probably already on your desk.
Cut Size vs. Button Size
The circle you cut is always bigger than the finished button
Your printed design needs to extend past the visible face of the button so the paper wraps cleanly around the shell edge during pressing. If you cut exactly to the button diameter, you will see bare metal around the rim. That extra area is called bleed.
ButtonMaker handles this automatically. Every template includes the correct bleed, and the PDF prints at the right size with cut guides. Here are the approximate cut sizes:
Whether you are cutting by hand or with a machine, just follow the cut guides on your printed sheet. Browse our templates page to see exact specifications for every size.
Frequently Asked Questions
Yes. ButtonMaker PDFs print with cut guides around every circle, so you can cut along the line with scissors or a craft knife. It works fine for small batches. The cuts will not be as uniform as a punch cutter or Cricut, but most button presses are forgiving enough that slightly imperfect circles still produce good buttons.
The cut circle is always larger than the finished button because the paper wraps around the shell edge during pressing. For a 2.25" button, you cut about a 2.63" circle. ButtonMaker handles this automatically. Every template includes the correct bleed, and the PDF prints at the exact size your cutter needs.
Print your ButtonMaker PDF, then use the Cricut to cut circles along the printed cut guides. The PDF includes the exact bleed dimensions for your button size, so every circle is the right size for your press. The Cricut handles the cutting automatically once you set up the circle dimensions.
A punch cutter is faster for production work because you just press down and the circle pops out. No spinning a blade around a center pin. The tradeoff is that punch cutters are fixed to one size, while rotary cutters can adjust. If you make one button size all the time, a punch cutter saves time. If you switch between sizes, a rotary cutter or Cricut gives you more flexibility.
Ready to design your buttons?
ButtonMaker handles the template, bleed, and print layout. You handle the creative part.
Start Free